Grinding off the rounded corner of the plane iron is taking forever. Part of the reason is that when I roll the honing jig on the stone I can only use half of the stone. The other half is needed to put the roller on. So I decided to make a new honing jig with a wooden platform to put the roller on that extends far enough past the stone that I can use the whole stone.
I found a piece of scrap plywood to use.

That Plywood Will Be My New Sharpening Jig
The plywood is 3/4" thick. I am going to stack up two layers of it so that the sharpening jig will be 1 1/2" thick, and the honing jig will fit next to it for setting the blade distance. I won't bore you with the cutting of the plywood and some 1/4" scraps of oak to make the jig, so here it is all cut out.
All that junk on the bench is what I used to cut a piece of plywood in half and screw the two halves together. As you can see in the photo, I also put a vertical piece of scrap pine on the jig to serve as a bench hook or to put in the vise.

This Is Ready to Set the Stone Keepers
Here is the configuration of the jigs that capture the stones. There will be one for the 2" x 6" diamond stones, and one for the 8" x 3" ceramic stone.

The Layout for the Stones
With two layers of 3/4" plywood I have 1 1/2" of space above the bench so that I can put the honing jig up to it without moving the board off the bench. I could not do that with the old jig.
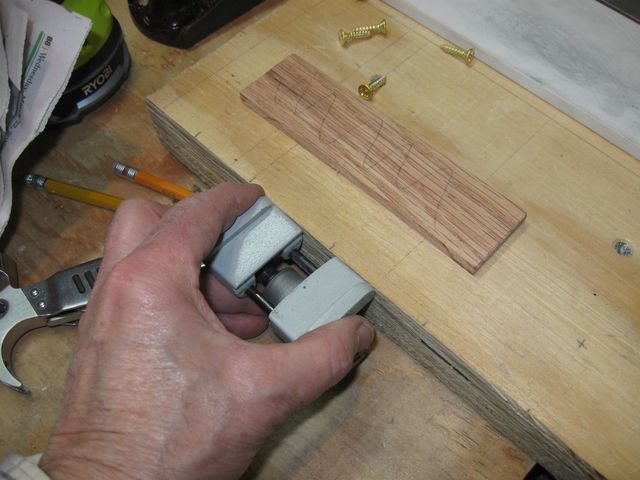
The Stops Will Go Along the Side
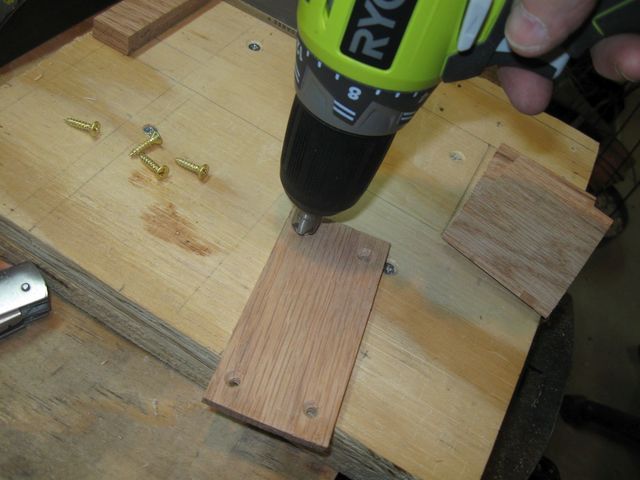
I made this wooden platform from some 1/4" oak that I had lying around from a different project. It is 2" by 5". I will screw it down with brass screws so that they won't rust.
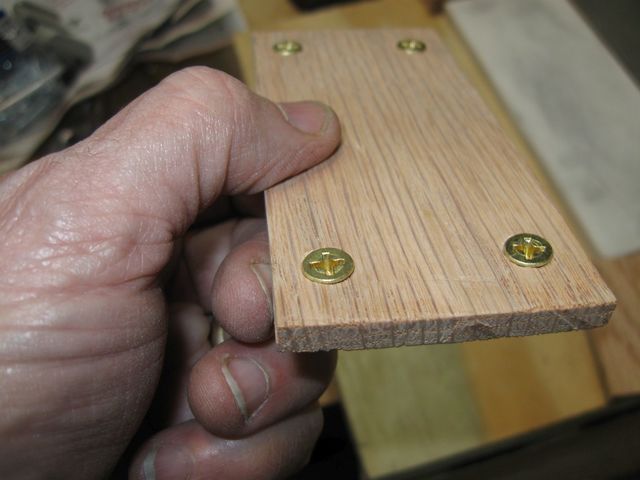
The Screws Need to be Flush With the Surface
Since the surface will have the roller moving on it, I don't want it to bump over the screws, so I took special care to recess them exactly to the depth of the head. This was done by trial and error.
I Carefully Recessed the Heads to Be Flush
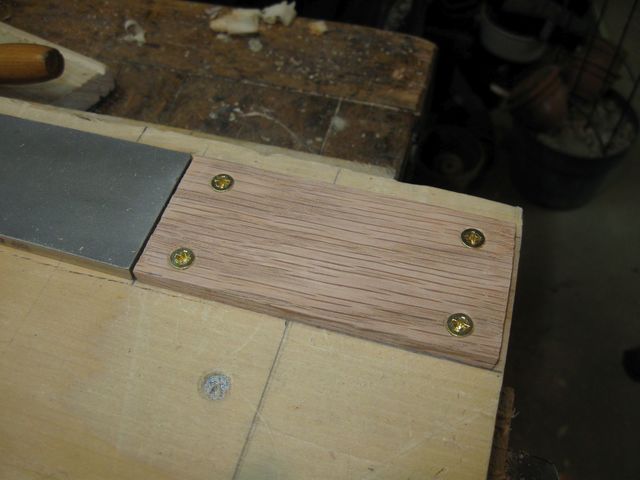
I screwed it down next to the stone. Then, I scraped it with the cabinet scraper so that it is exactly the same height as the stone. The wood was 1/4", and the stone is about 1/64" less than that.
This is Where the Wheel Goes During Sharpening
When I back up the honing jig onto the wooden platform, I can use the entire stone for sharpening the blade.

This is How It Works
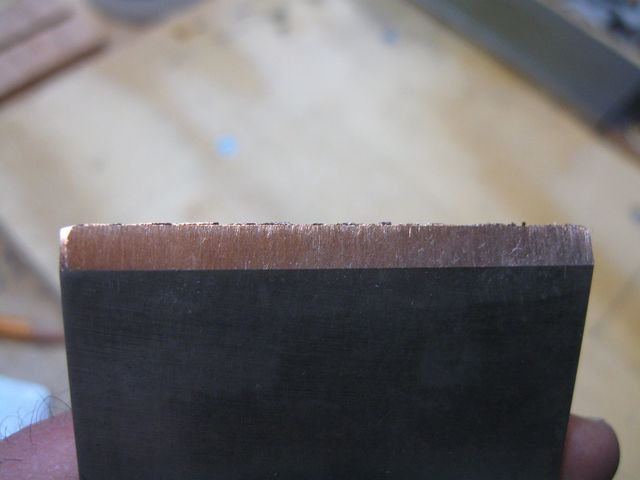
Rather than finish the rest of the jig, I started using it to take out that curved edge of the blade.
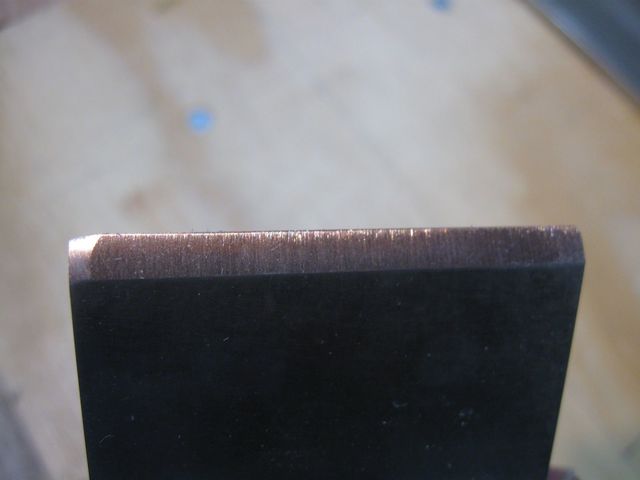
This is better
Grind Grind Grind
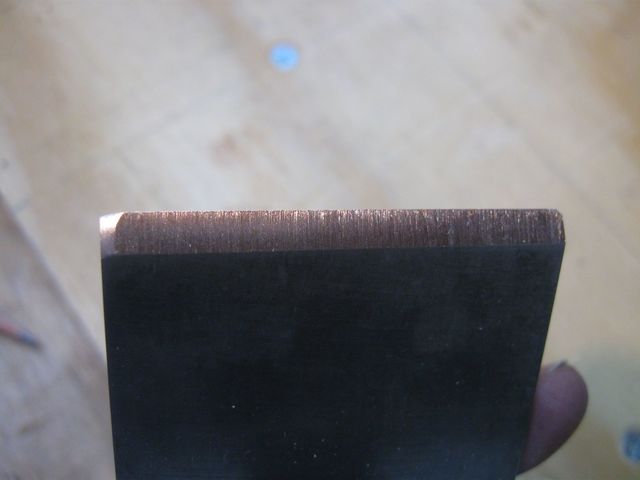
Better
Grind Grind Grind
Better
This is literally taking hours.
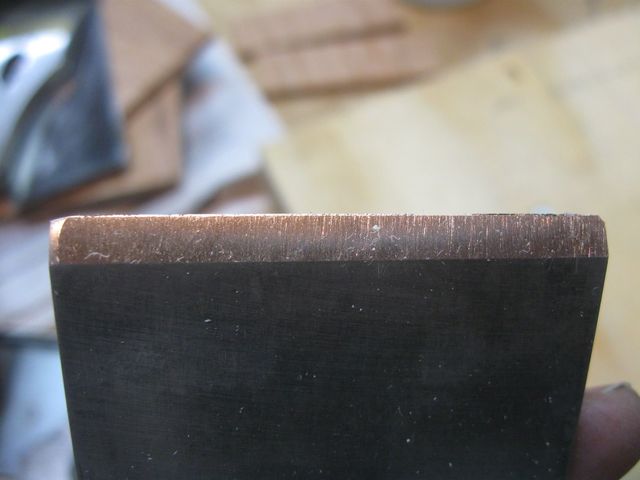
Better
Another half hour of grinding.
Almost There
Hope I'm not wearing out my stone. They are supposed to last forever. I kept going.
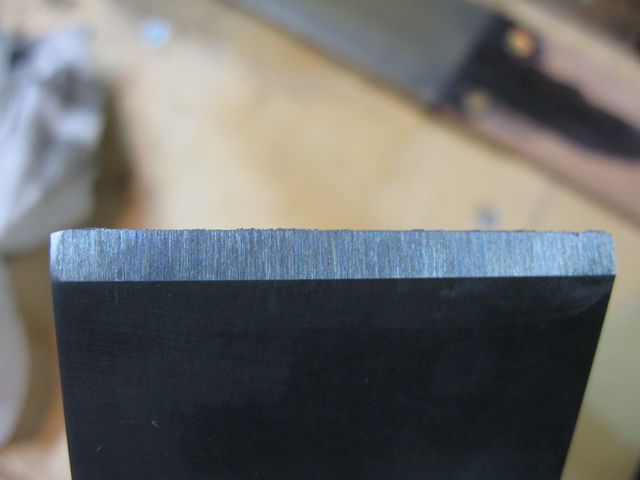
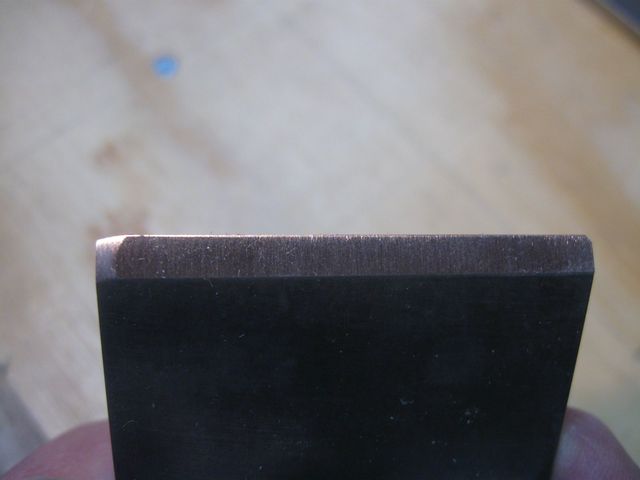
I Think This is As Far As I can Go
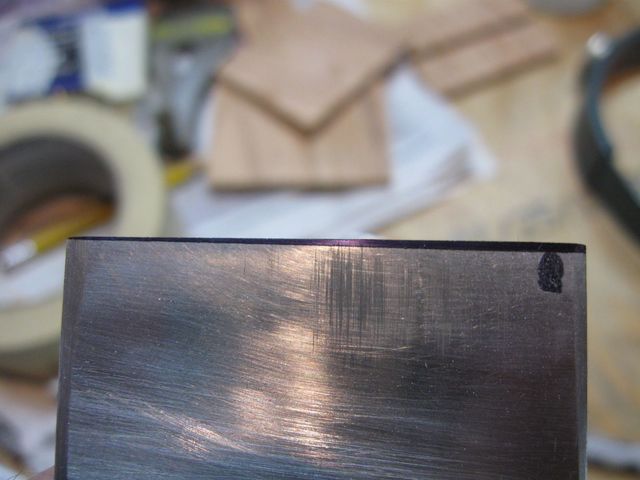
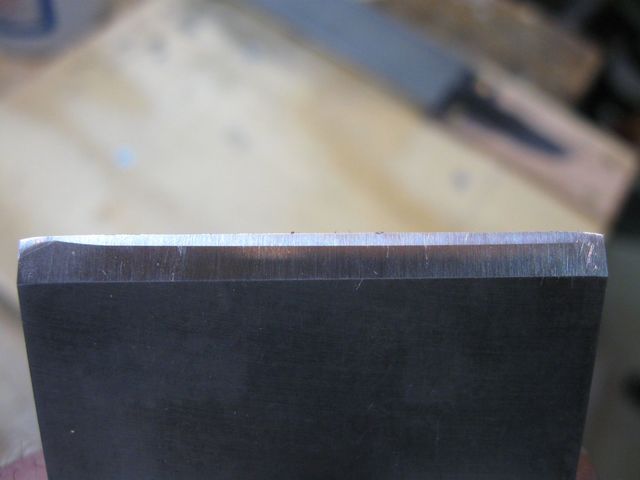
On a lark, I grabbed the square to see if the edge is being ground square.
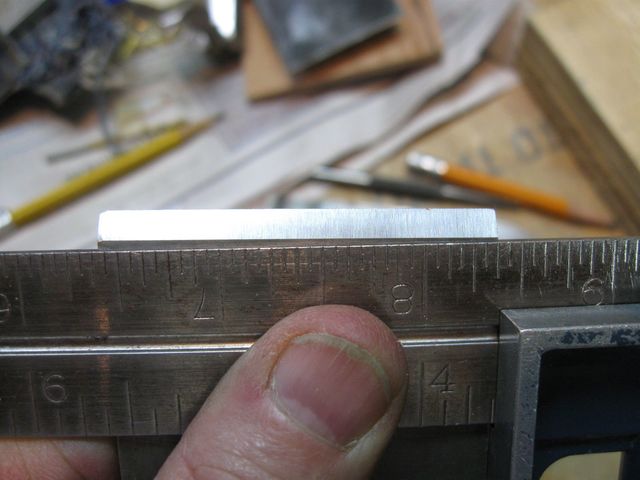
GAK! It's Ground at an Angle!
Back to square one! I have to make this edge square to the plane in order to use it on my shooting board. I marked it with a Sharpie® so that I can see where I have to go when I correct this.
The Line is Square; The Edge is Not
Here is a closeup of what I have to do to make this square.
The Edge Has To Match the Line
I did not have the patience to start over on the stone, so I went back to the sandpaper, being very careful to ensure that there was only one layer between the iron and the steel plate.
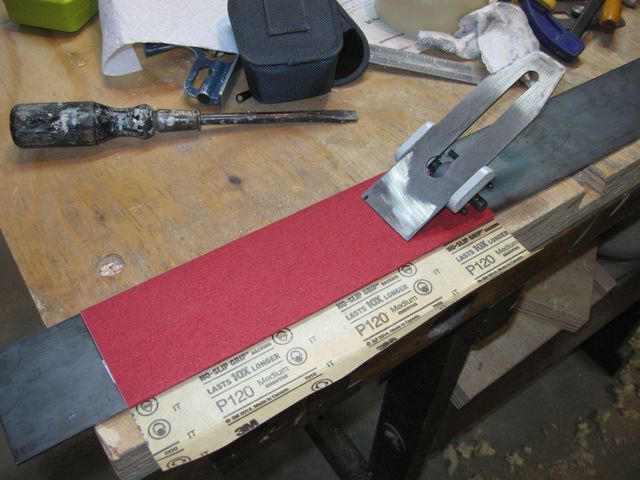
I Am Back On the Sandpaper
It went faster than on the stone, and it is now square again.
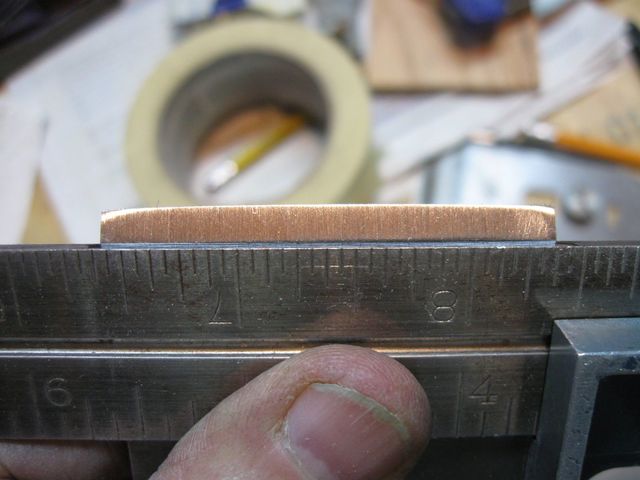
However, The Ends are Rounded Again
You can see the camber in the blade in the closeup below.
I Now Have a Scrub Plane Blade. Yikes!
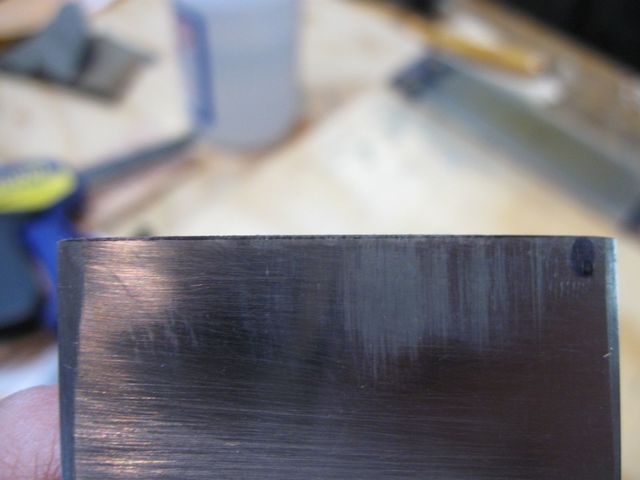
To see if I could take out that camber with the secondary bevel, I increased the angle in the jig to 30° and tried it. That kind of worked, but it is not a pretty edge.
The Edge is Somewhat Flat, but The Corners...
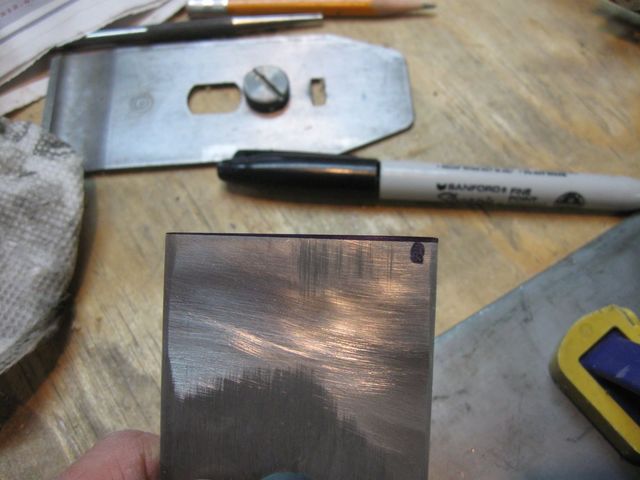
I was out of patience again, so I hung it up for the day. I did manage to trash my new sharpening jig rather quickly.
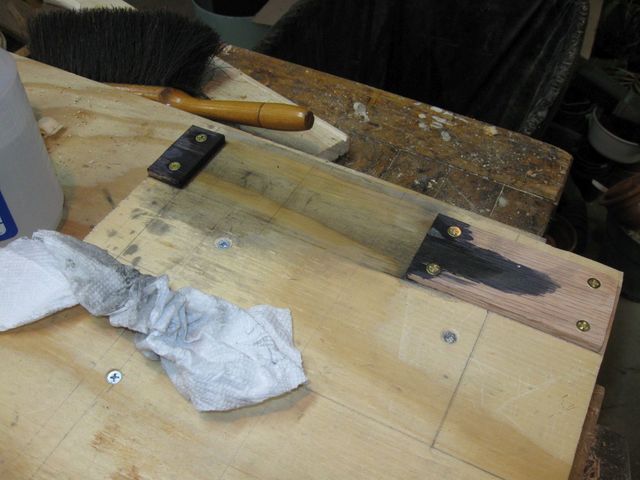
It Looks Well Used Already
I guess the black stuff is all the steel I have been grinding off. I need to see if I can figure out how to make the primary bevel square and even out to the edges. That will have to be the next session.
