I am back a week later to finish making my new 10" bending form. I started last week, but I ran out of time. Today I finished cutting out the circles and cutting a notch in each one of them.
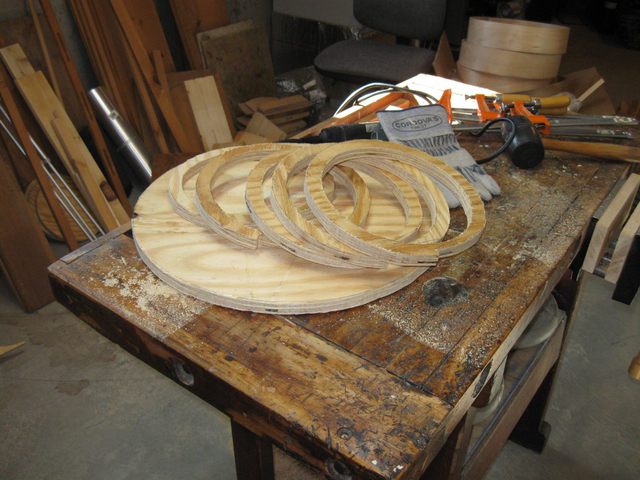
The Circles Are All Cut
I marked the location of the 10" circles on the base plate.
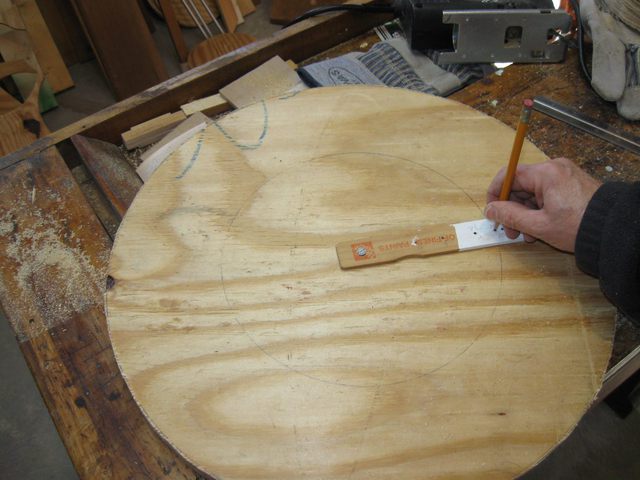
Marking the Location of the Circles
Then I stacked them up and screwed them together. You might notice in the photo below that I staggered the screws differently so that there is no pesky screw in the notch.

The Rings Are Stacked And Screwed
As you can see below, the new form is 10" in diameter.

The Form Is Ten Inches Across
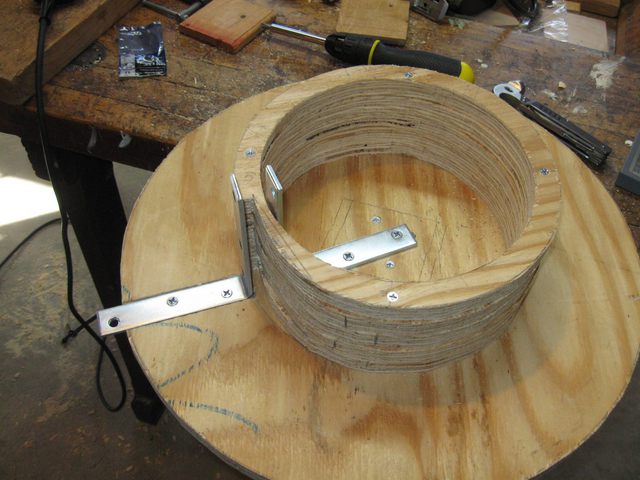
I procured another pair of 5" angle irons and set them in place on the form. I could have re-used the ones from the other form, but I didn't want to disassemble that form yet. So I left the 12" form intact and started from scratch on this one.
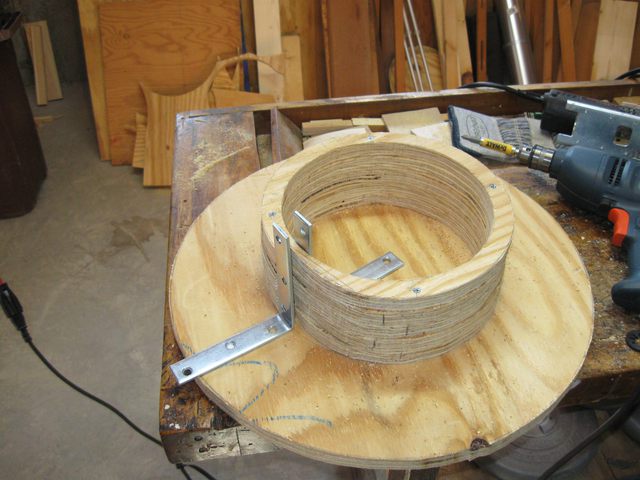
New Angle Irons
I used a chisel to cut a channel in the base plate to recess the angle iron into the plate.

The Angle Iron Will Be Flush With The Plate
Wow! Good luck this time. There is no cavity between the plies where I gouged out the channel, just some solid wood.

Solid Wood In The Channel
Here is the angle iron screwed down to the base plate. The board seems to fit in the notch OK.

The Angle Iron Screwed to the Base Plate
I also made a chunk of wood to screw to the base plate that will be clamped in the vise. I cut off a couple of short lengths of two by four.

Cutting Some Two By Fours
I screwed them together to make one piece. By the way, the green paint means that I got this wood cheap at the Big Box store. They color code the scrap pieces that they sell for a dollar or less.
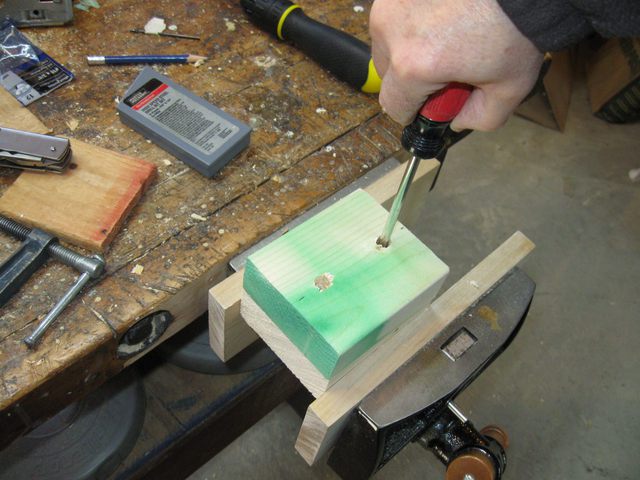
I Screwed Two Pieces Together
I didn't quite finish making the form. This is as far as I got.
The Form Is Almost Done
I still have to connect the tops of the angle brackets together before I can use this. I can do that next time. It shouldn't take very long.
